15 Space Buns Hairstyles
The trick most tutorials skip is that space buns sit better when the two ponytail bases are placed slightly forward of where you think they should go, closer to the crown than the back of the head. That single adjustment stops the buns from disappearing behind your ears in every side view. Once the placement is right, the rest is just choosing your texture, size, and finish. Here are fifteen versions worth trying.
Classic High Space Buns
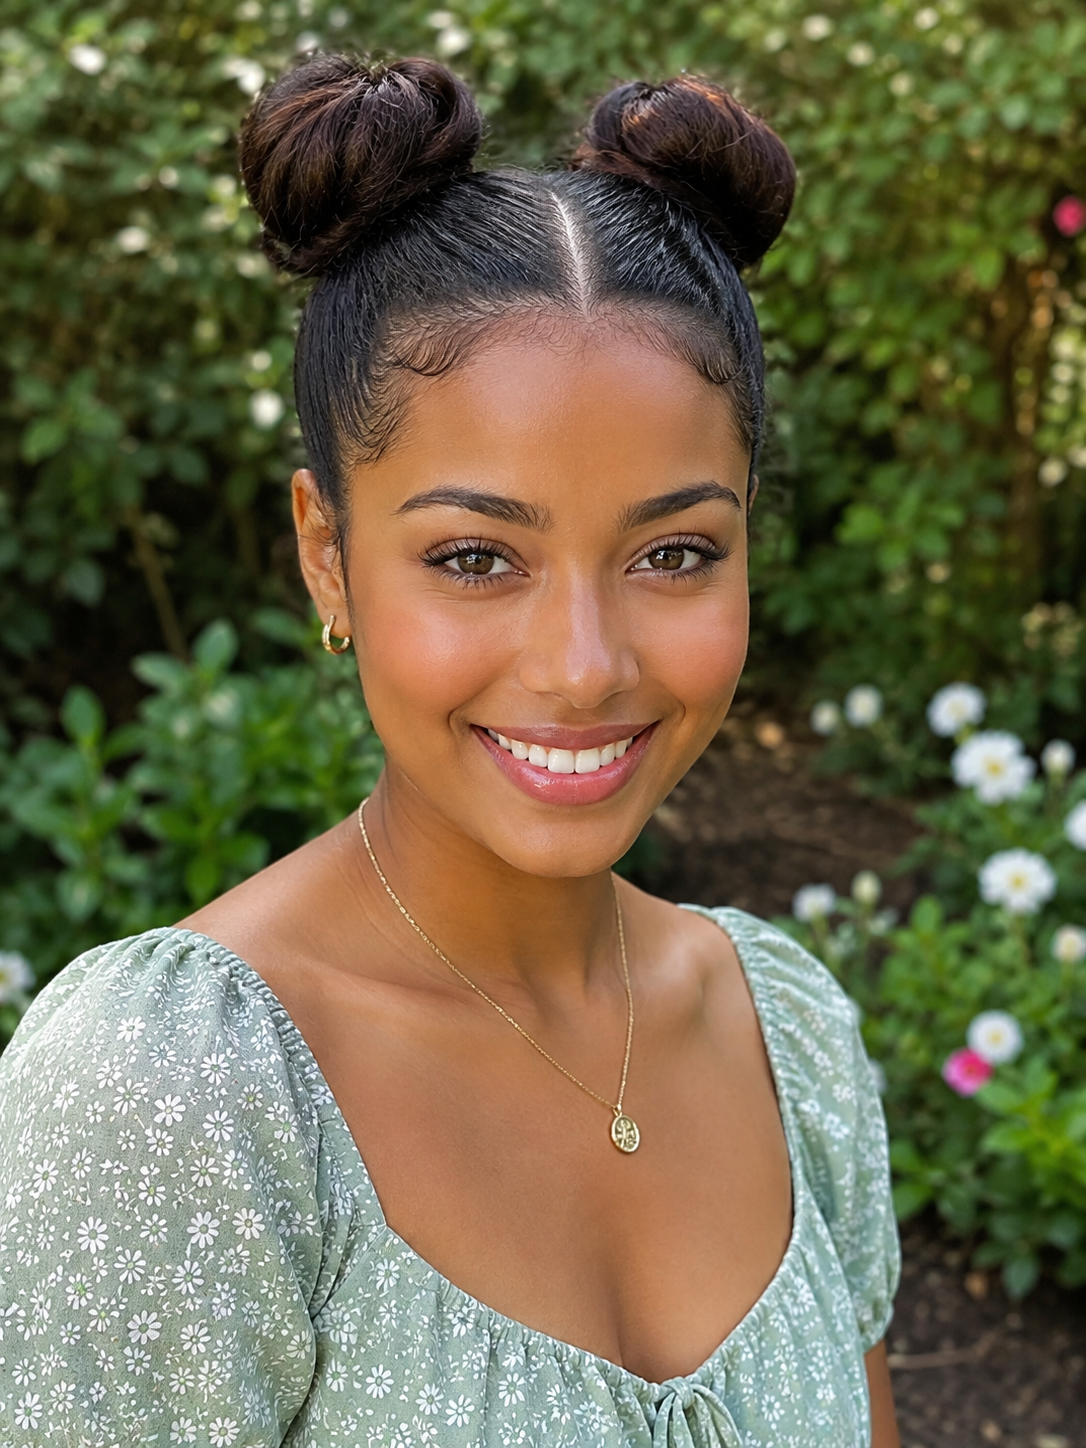
Part hair straight down the middle and gather each side into a high ponytail level with the crown. Wrap each ponytail around its base and secure with pins. Keep the tension medium so the buns look rounded, not pulled flat. This is the version most people picture when they hear "space buns," and it works on almost any hair length past the shoulders.
Bubble Space Buns
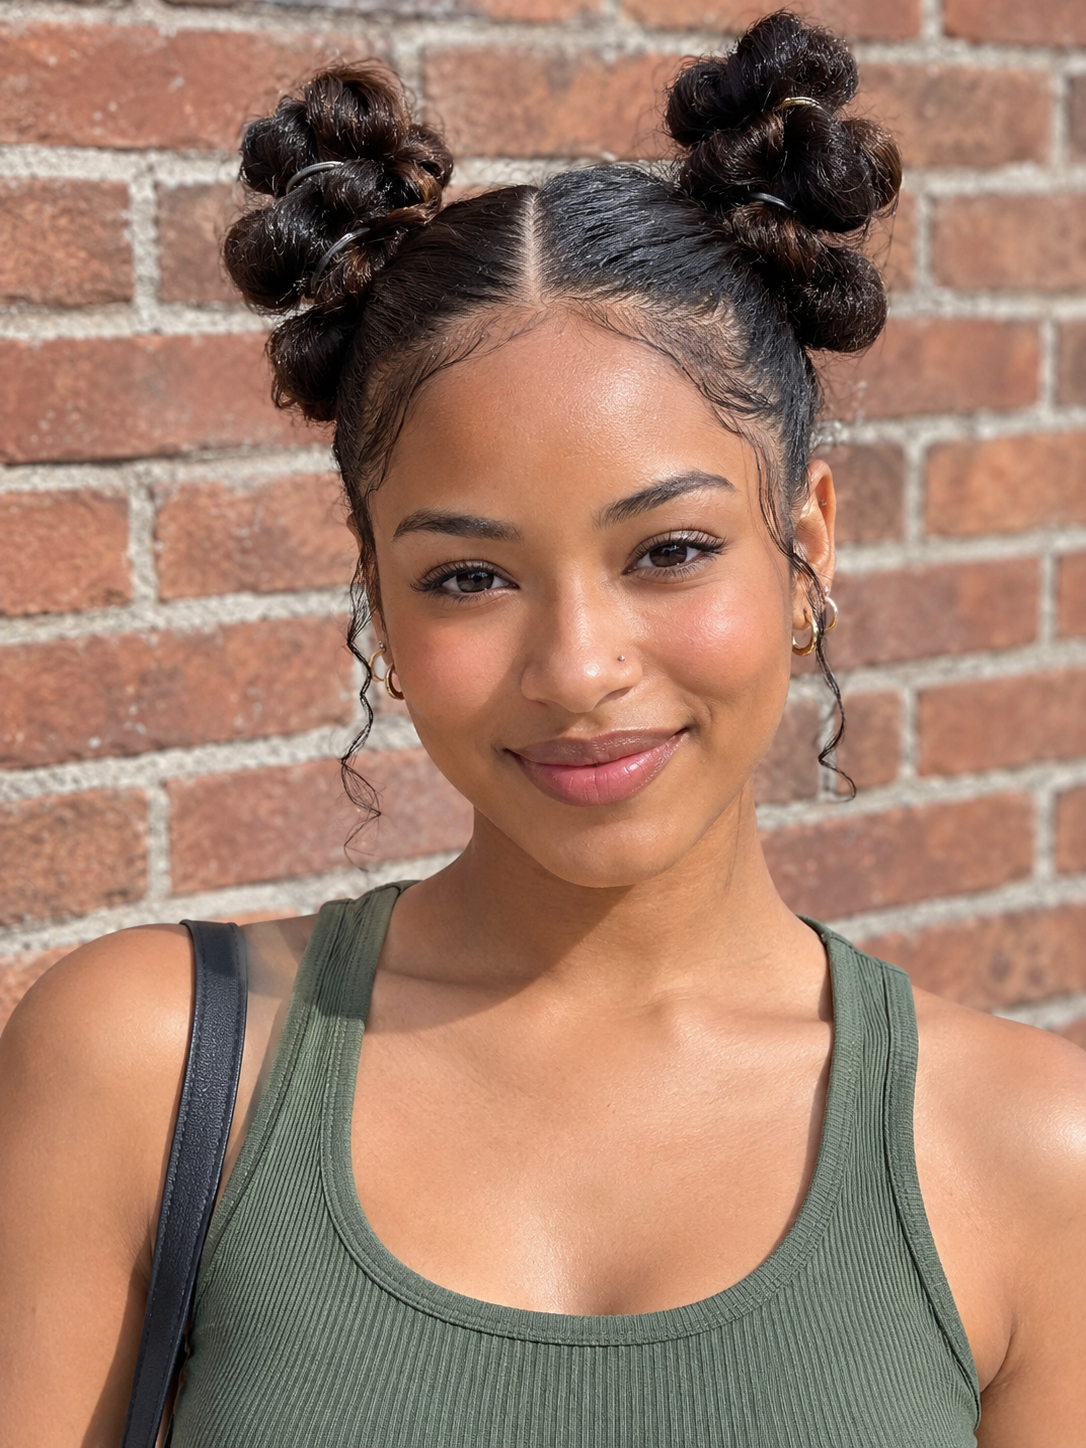
Instead of wrapping the ponytail into a smooth bun, section it into small elastic-secured bubbles and coil the whole thing around the base. The bubbles add texture and a little playful volume. This version photographs well and holds up in humidity since the elastics do most of the structural work. A shine spray at the end keeps the bubbles defined.
Space Buns With A Zigzag Part
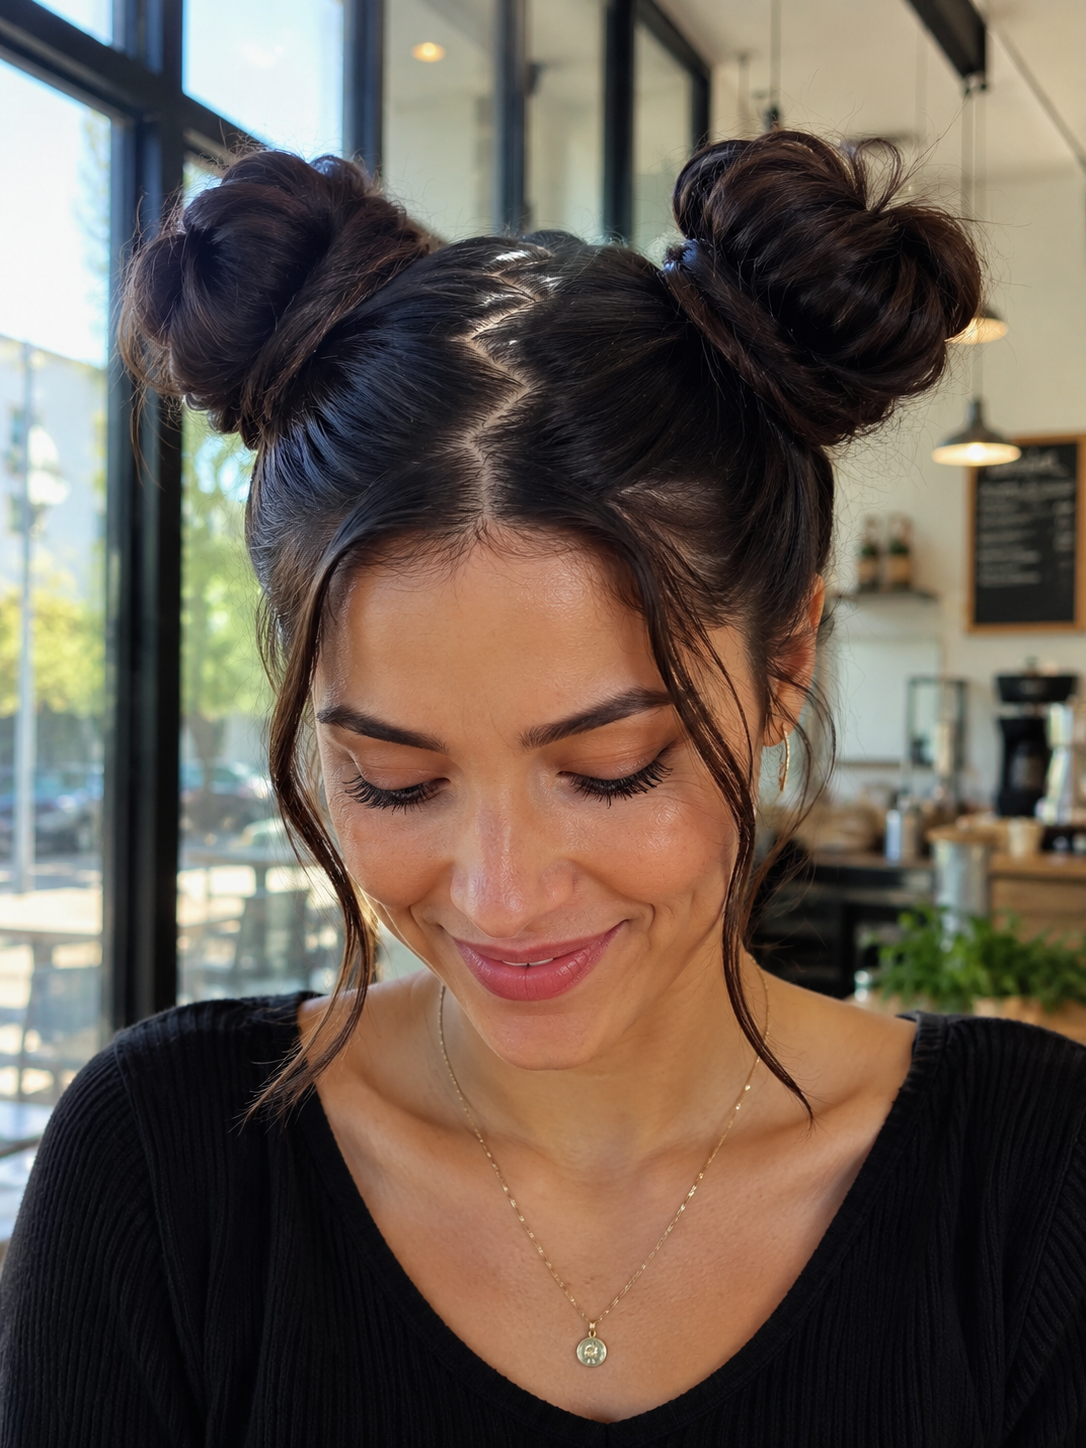
Swap the straight center part for a zigzag using the tip of a rat-tail comb. This small change adds visual interest without changing the buns themselves. The zigzag also disguises uneven partings, which is helpful if your natural part refuses to sit dead center. Pair with either sleek or messy buns depending on the vibe you're going for.
Rope Twist Space Buns
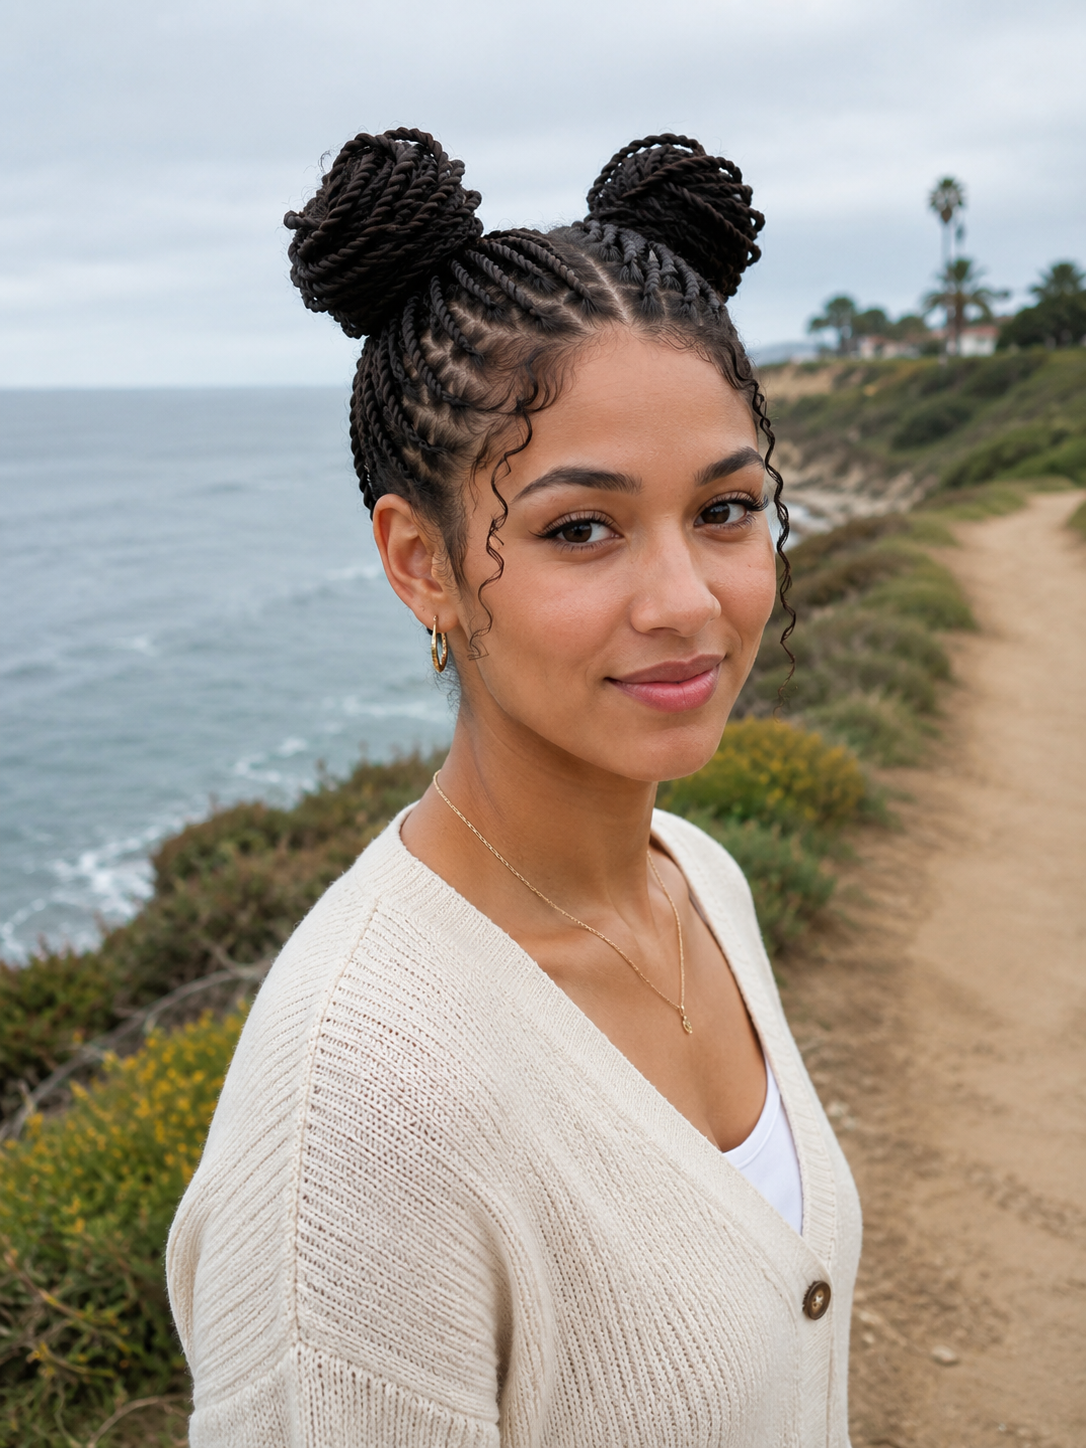
Split each ponytail into two sections, twist each section clockwise, then wrap them around each other counter-clockwise before coiling into a bun. The rope twist adds a woven texture across the bun surface. This holds better than a plain wrap on slippery hair and gives the buns a more finished, sculpted look than a basic version.
Space Buns With Extensions
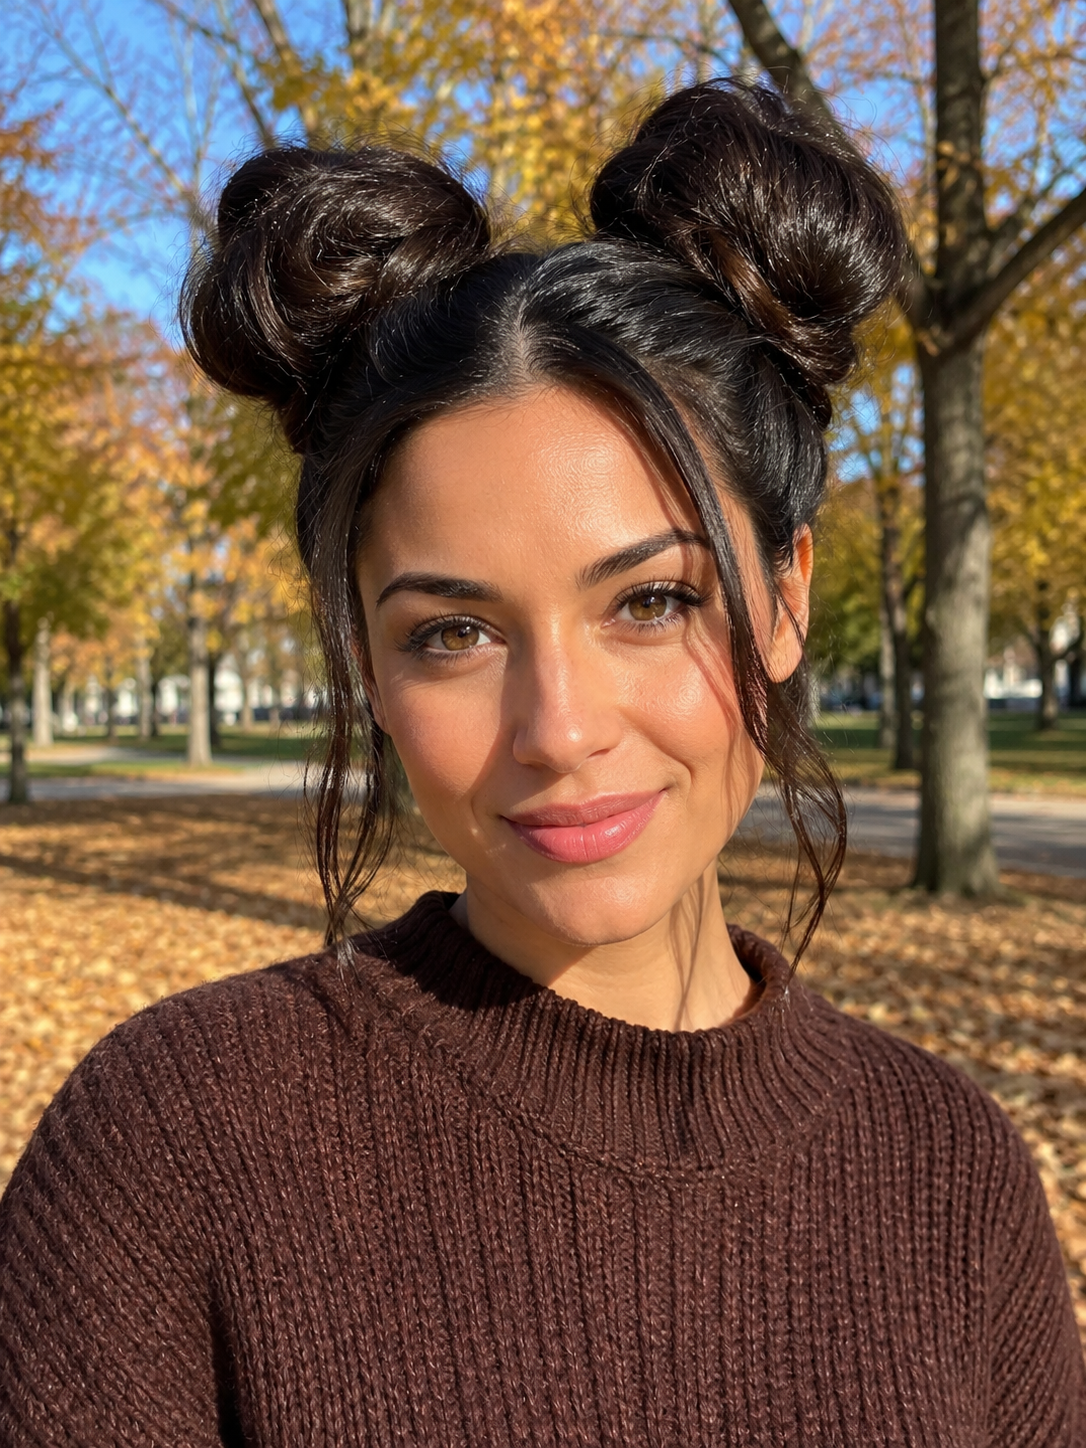
Clip in a set of matching extensions to each ponytail before wrapping into buns for extra size and fullness. This is the go-to for anyone whose natural hair creates buns smaller than they'd like. Blend the clip line by pinning strategically and covering with a wrapped section from the top of the ponytail.
Fluffy Bantu Bun Hybrid
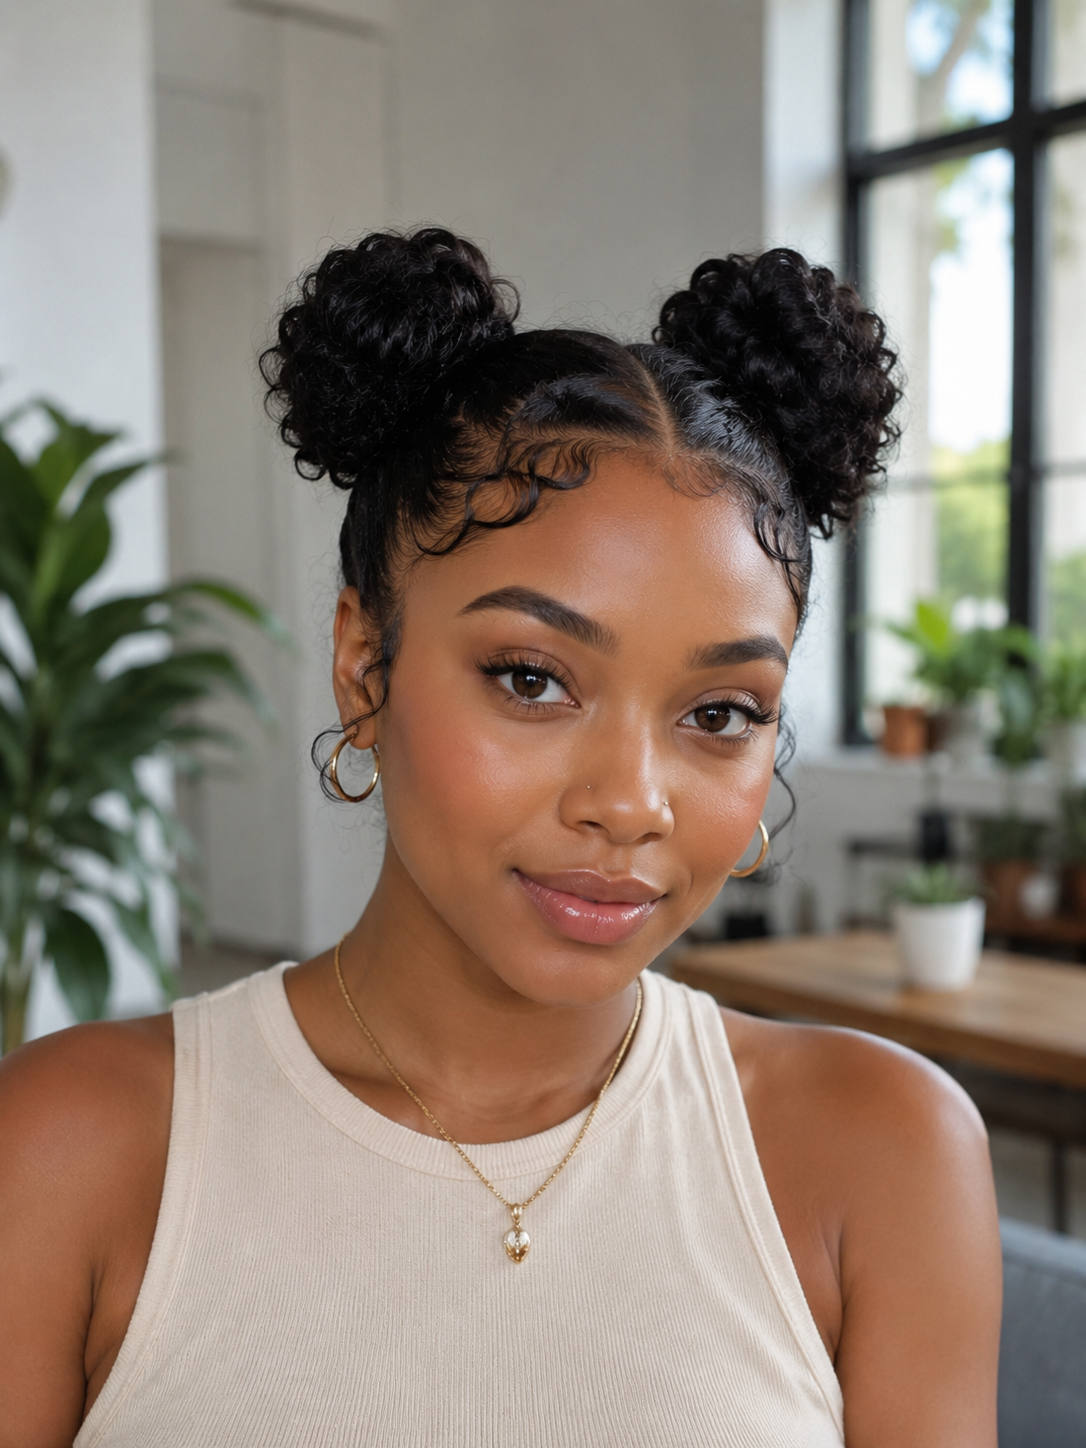
A Black woman with natural hair can twist each side into a Bantu-style knot at the base, then loosen the outer layer with fingers for a fluffy, fuller shape. This sits somewhere between a traditional Bantu knot and a soft space bun. Edge control along the hairline keeps the front polished while the buns themselves stay textured.
Space Buns With Ribbon
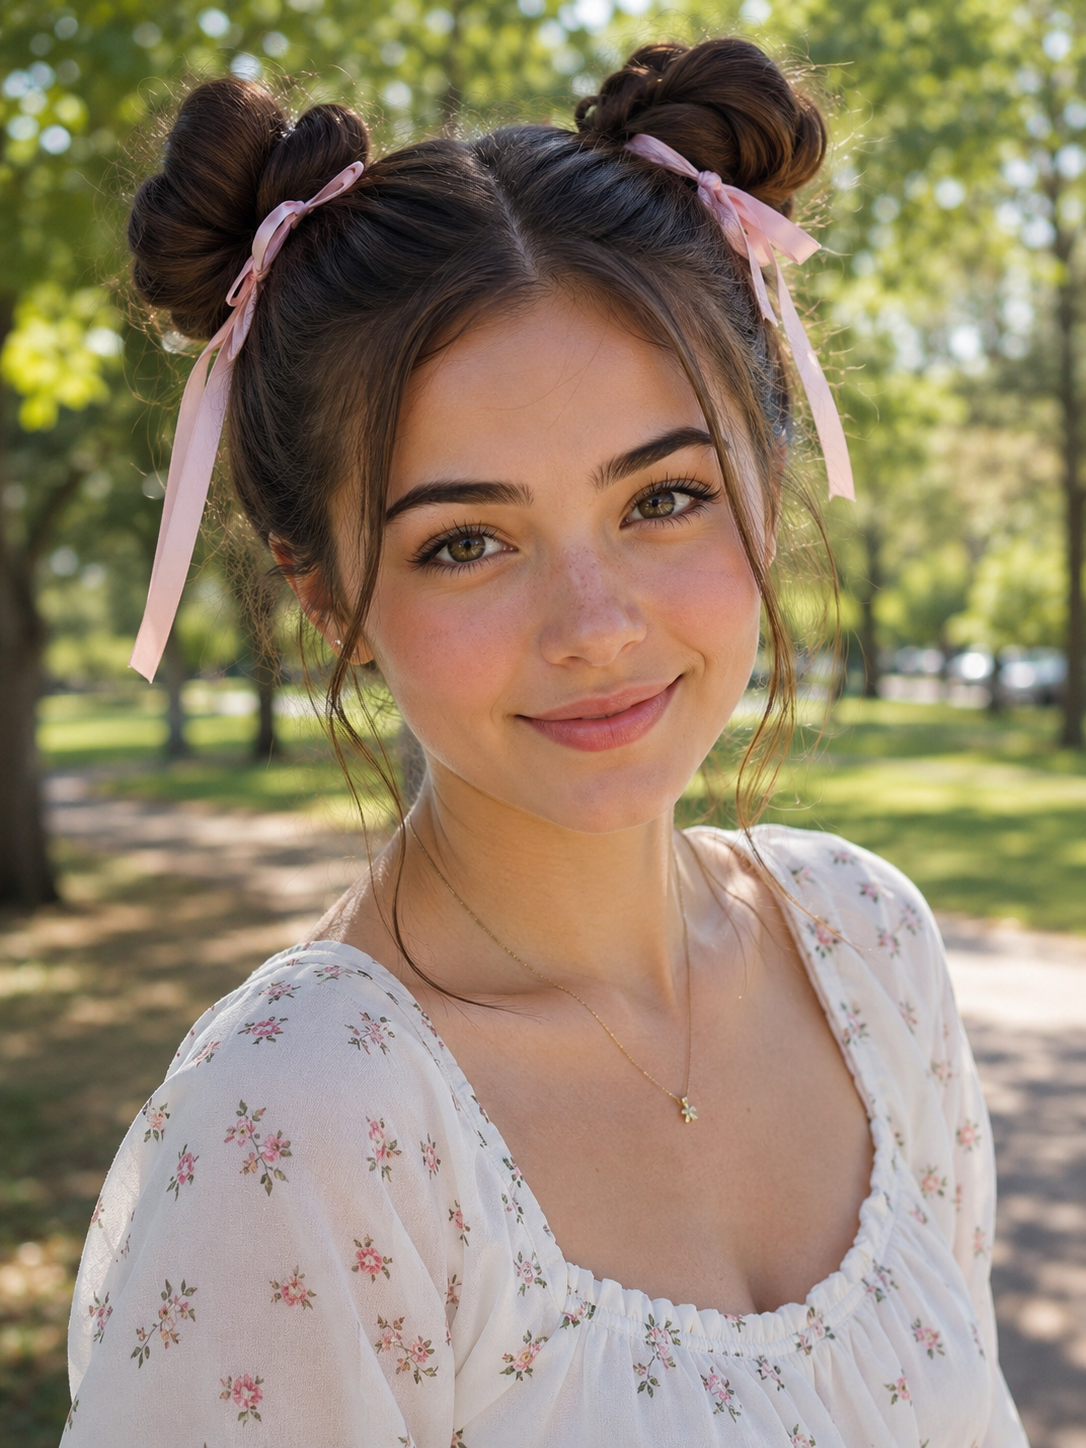
Tie a thin satin ribbon around the base of each bun and let the tails hang down loose. Choose a ribbon color that complements or contrasts your hair color depending on the effect you want. This is an easy way to add a soft, feminine detail without needing hair jewelry or accessories that require more setup or pins.
Two-Tone Space Buns
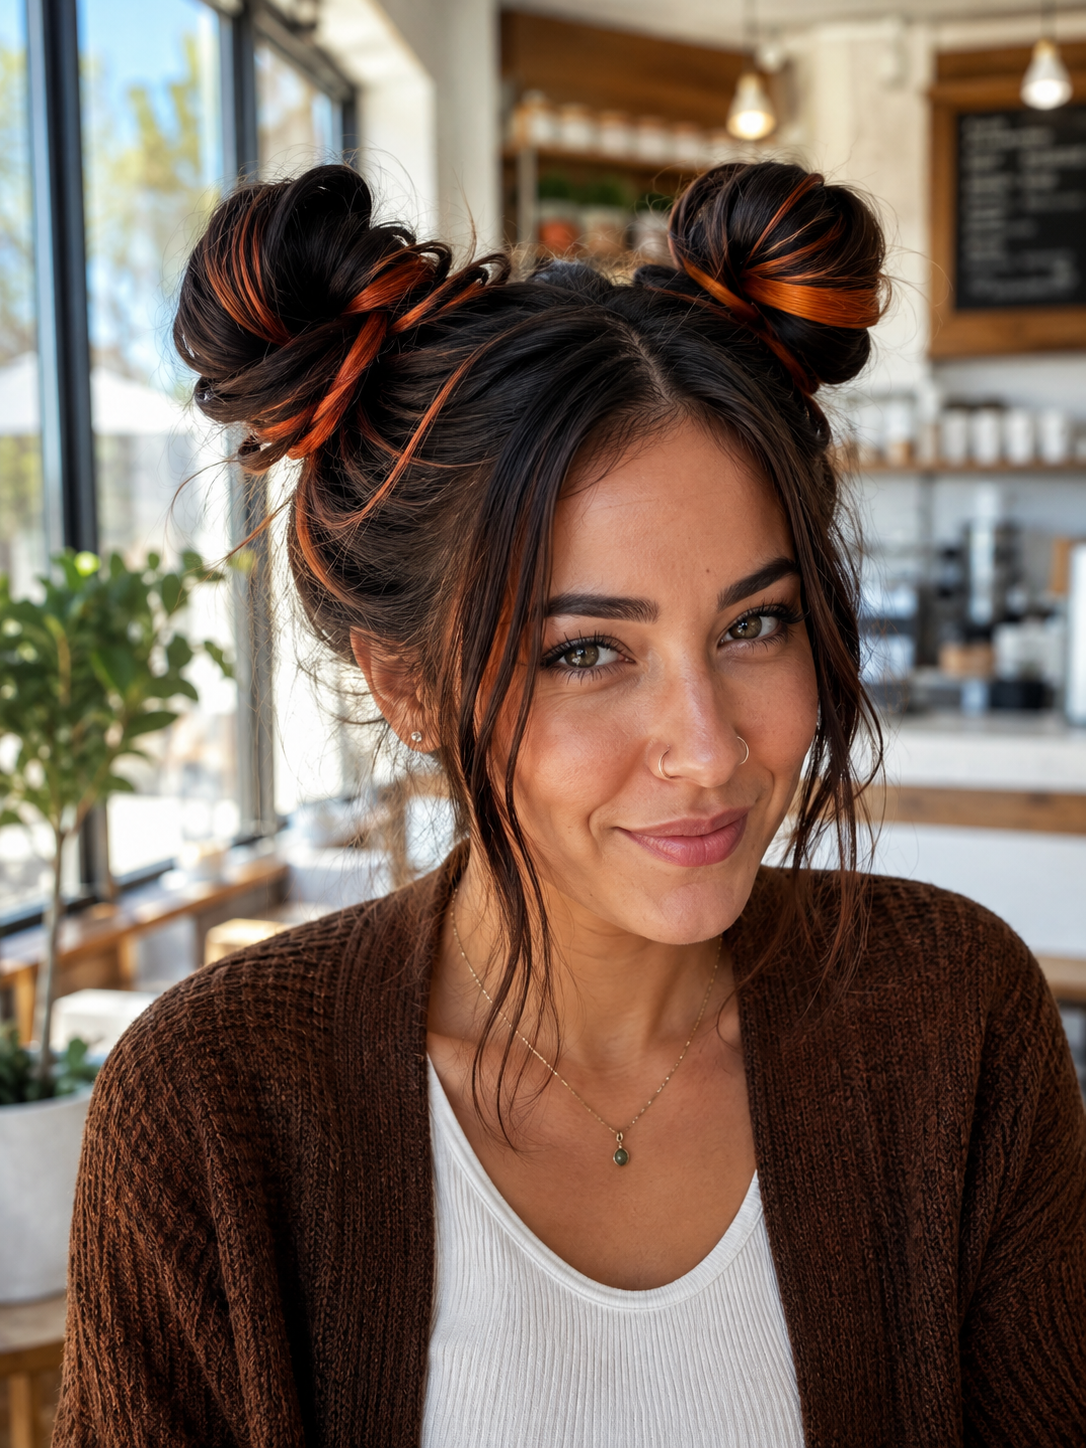
If you have highlights, lowlights, or peekaboo panels, twist each ponytail so the contrasting color spirals around the outside of the bun. This shows off the color placement in a way that a regular bun hides. Works especially well with money piece highlights or hidden panels in bold shades like copper or ash.
Space Buns With Loose Ends
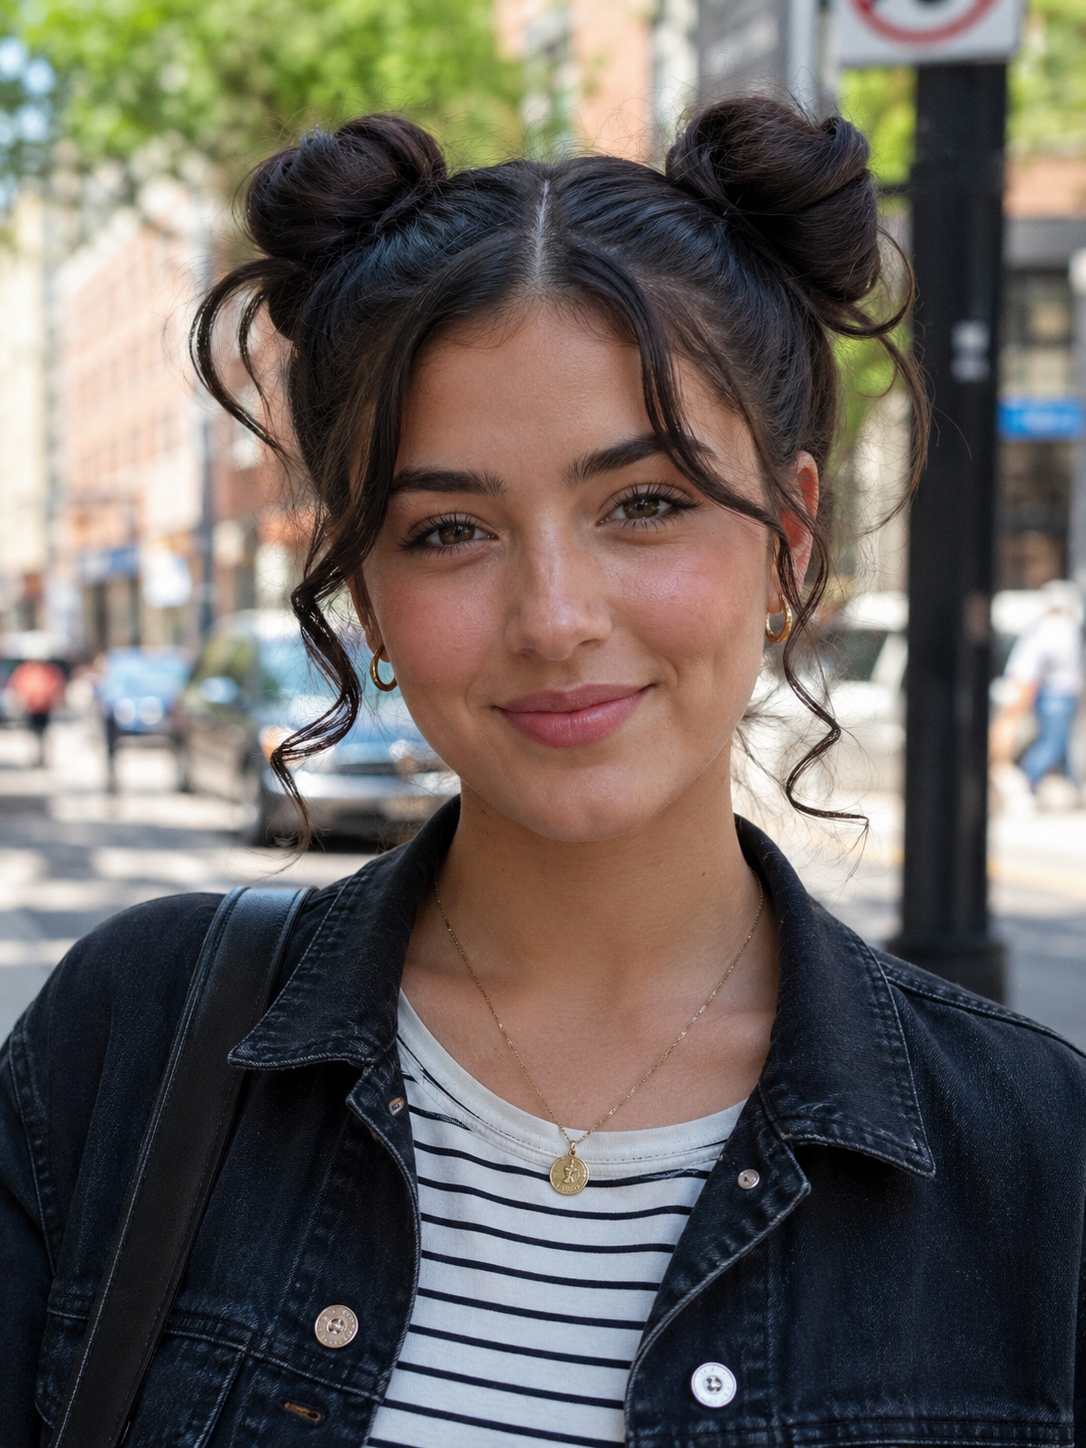
Instead of tucking every strand into the bun, leave the last two or three inches of each ponytail loose so they poke out of the bun as small curled tails. This gives a spiky, playful finish that reads younger and less polished. Curl the loose ends with a small wand for definition.
Boho Space Buns
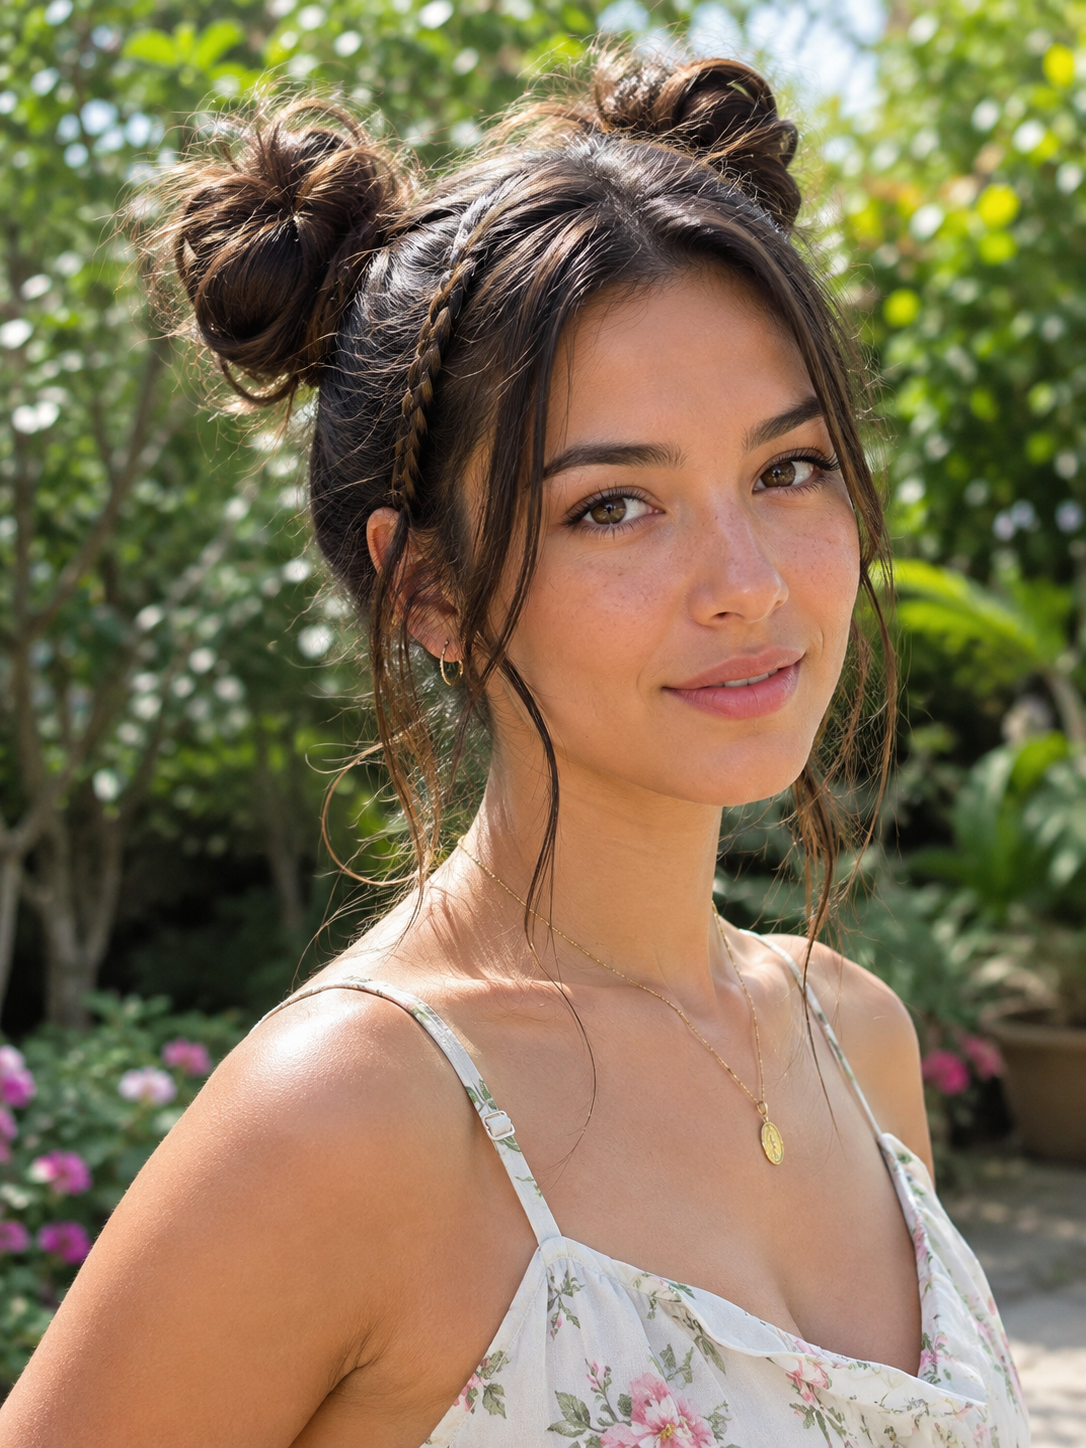
Pull hair back loosely with fingers instead of a comb, keeping the buns soft and slightly asymmetrical. Add a thin braid along the hairline on one or both sides for a festival-ready detail. Leave face-framing strands loose and lightly wave them. This version works best on hair that already has natural texture or a leftover wave from the day before.
Twisted Half Space Buns
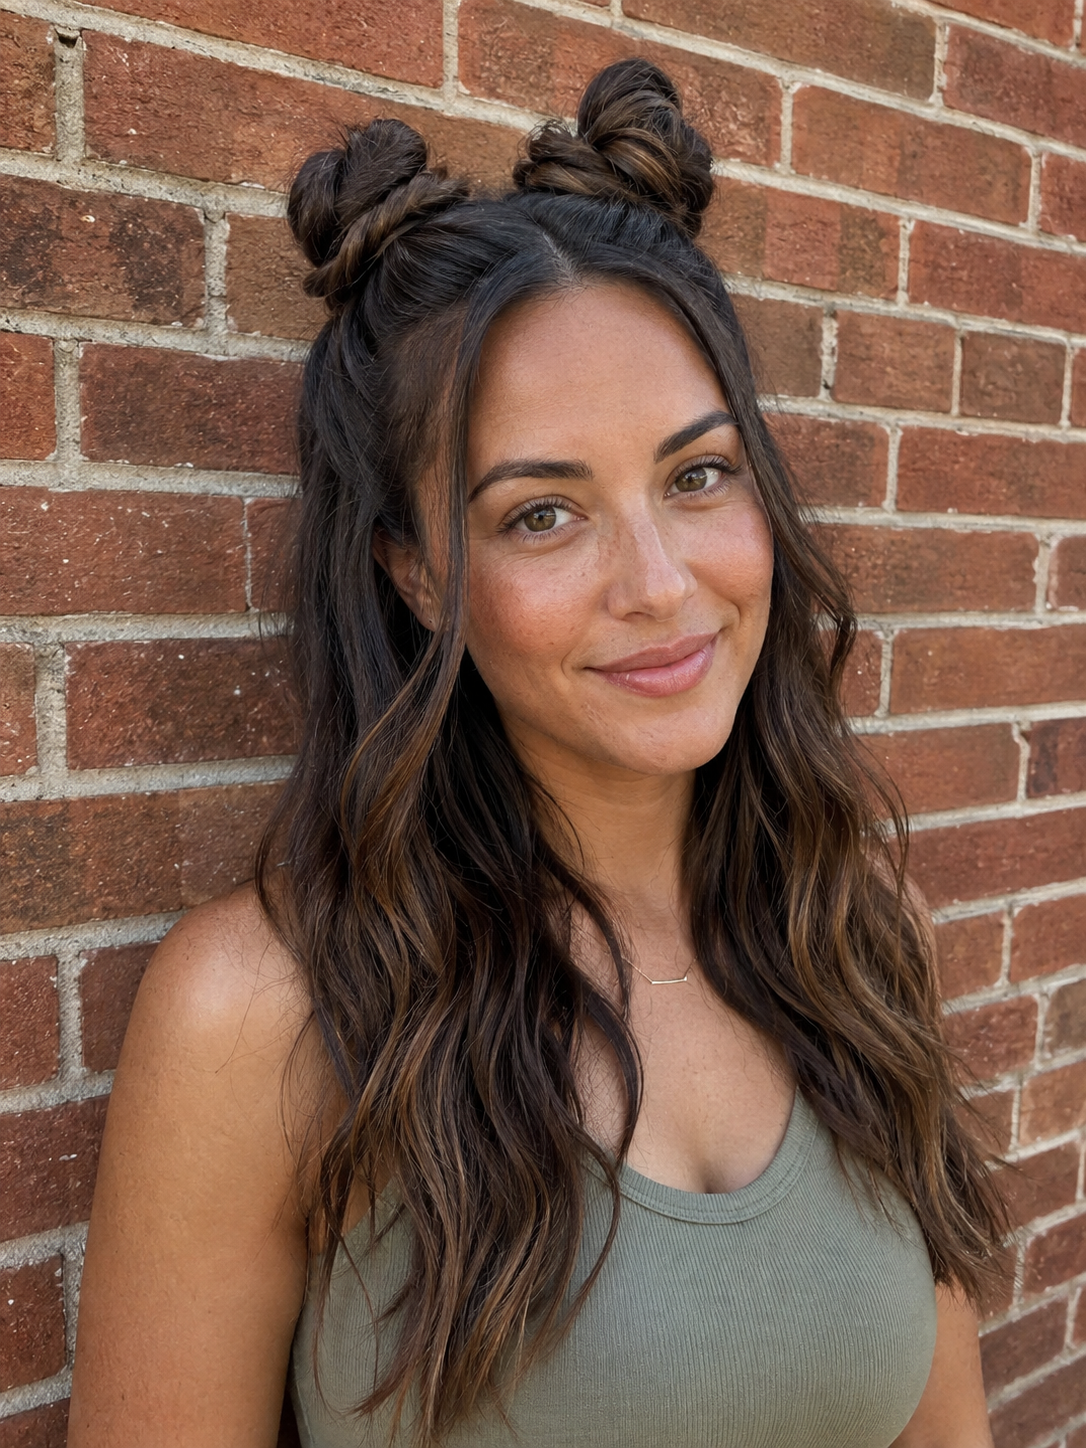
Take only the top two sections of hair and twist each from front to back before coiling into small buns. The bottom half stays completely down. This suits longer lengths where a full space bun feels too heavy or too much hair to manage. It also lets you show off the length and any layers or color work through the bottom.
Space Buns With A Middle Braid
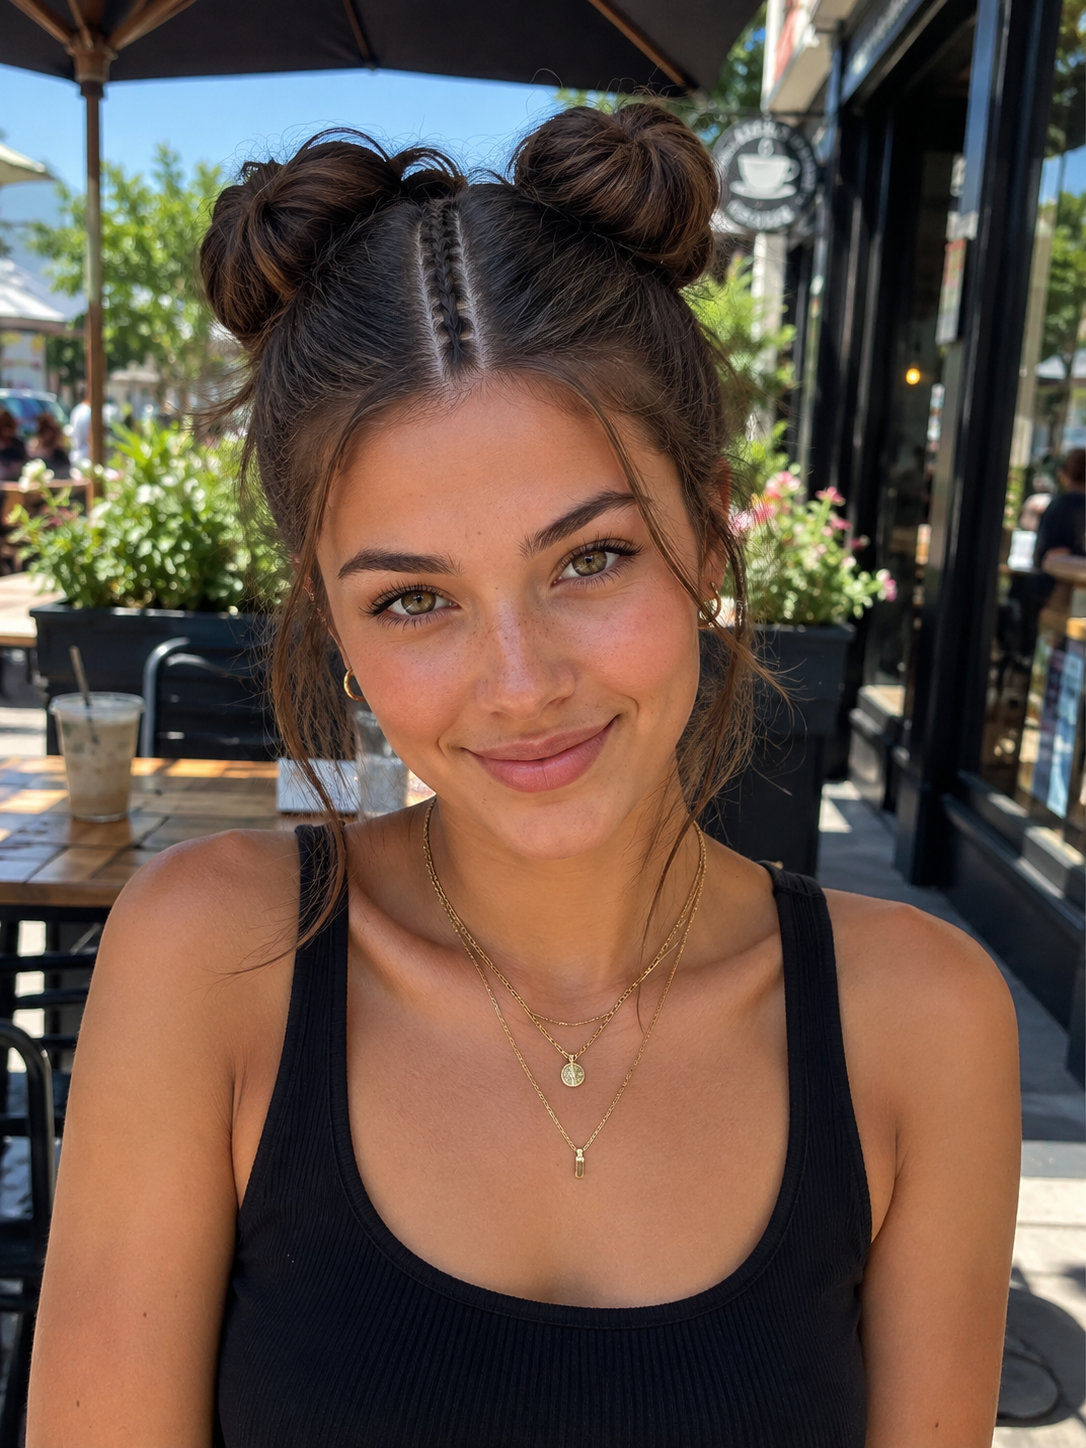
Braid a single small section down the center part between the two buns, running from forehead to crown. This unexpected detail breaks up the space between the buns and adds a design element. Keep the braid tight and flat against the scalp so it stays defined against the smoother sides.
Wrapped Base Space Buns
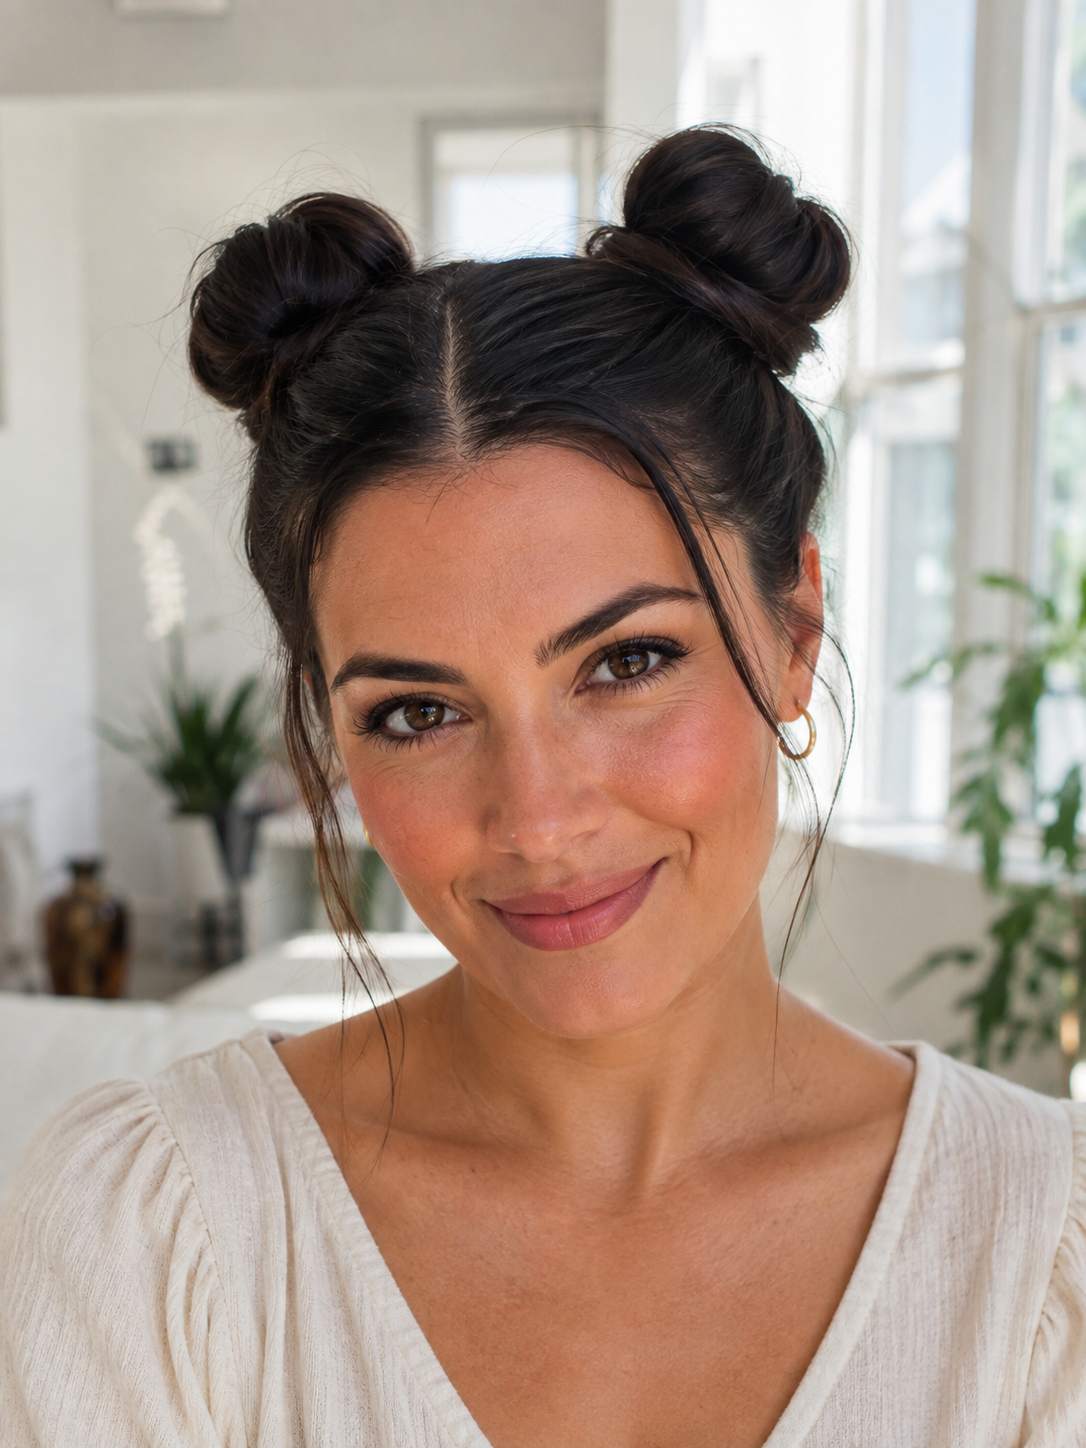
After forming each bun, take a small section from underneath and wrap it around the elastic to hide it completely. Pin the wrapped end underneath. This small step upgrades the buns from basic to salon-finished, especially for events where the elastics would be visible in photos or from certain angles.
Space Buns With Butterfly Clips
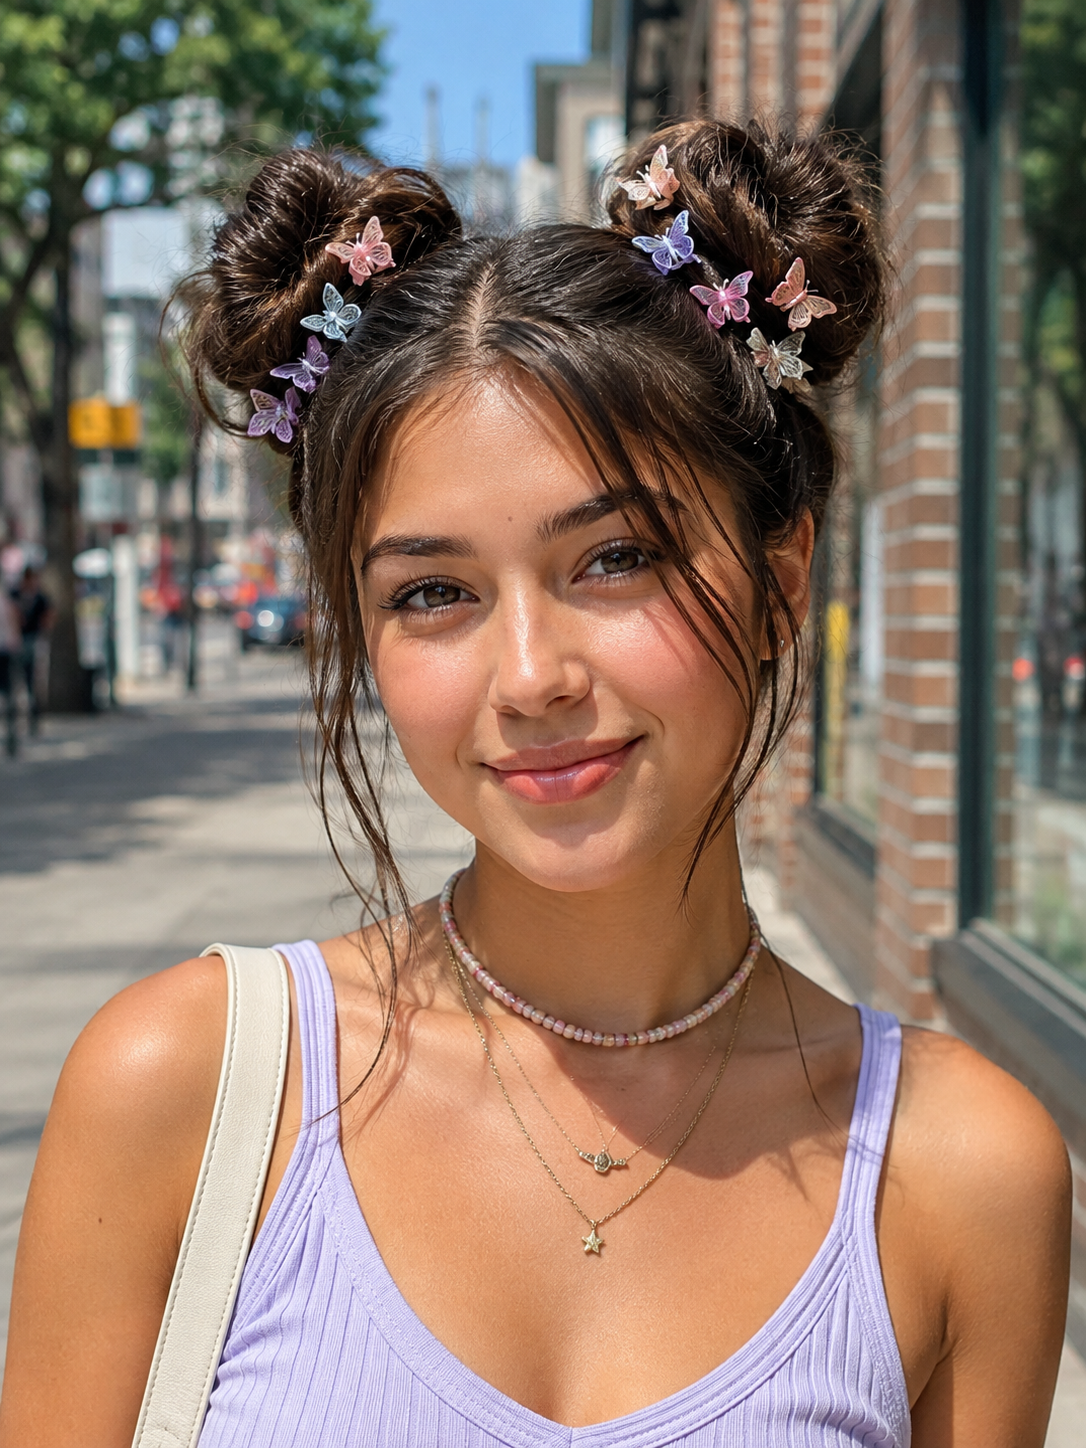
Secure small butterfly clips around the base or along the wrapped sections of each bun. Mix metallic and pastel clips for a nostalgic finish. This adds instant visual interest without changing the underlying technique. Butterfly clips also help hold slippery or fine hair in place if bobby pins alone aren't cutting it.
Wet-Look Space Buns
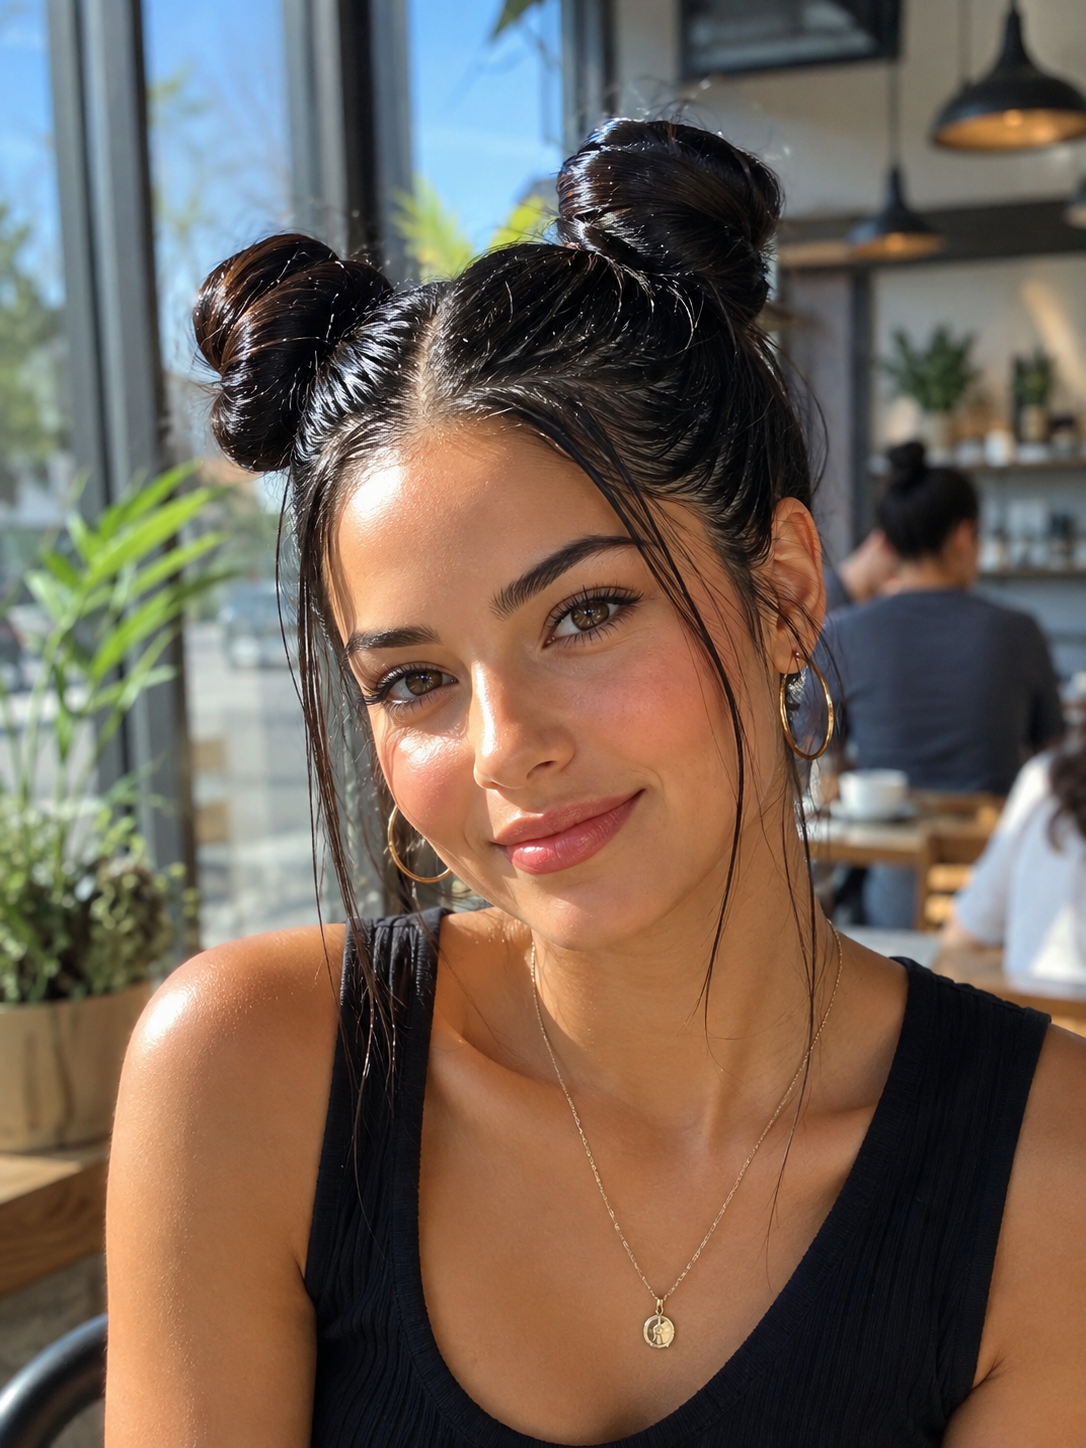
Work a strong hold gel through damp hair before parting and forming the buns. The wet finish keeps every strand smooth and shiny, which suits an evening or editorial-style look. Let the buns air dry or diffuse gently to lock in the shape. Reapply a touch of gel at the hairline for the sharpest finish.